I promised to share a Fly Rod build here in the DIY section.
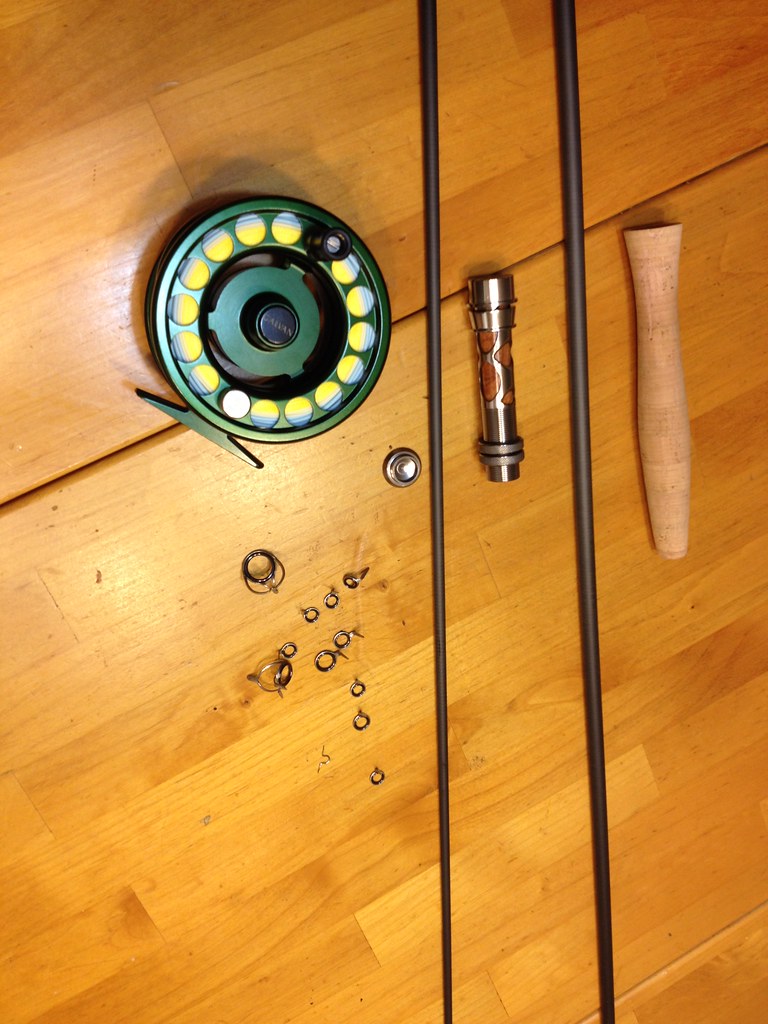
Received my two piece MHX High Modulus graphite 9wt fly blank, aluminum reel seat with burled rosewood insert, titanium guides and Portuguese Half Wells cork grip in the mail yesterday.
Fly rod builds are the easiest to build IMO. They are typically one or two gripped in configuration with a simple reel seat. The guides and guide spacings from the major blank manufacturers, provide a detailed guide placement fit to any of the modern fly blanks on the market today. The blanks bend, should flow with the line running through the guides, in a nice curve following the blank's bend. Any abrupt angles to the fishing line, that do not follow the blanks bend, should be adjusted to better allow the line to flow, following closely to the bend of the rod blank. Fly rod's work like spinning rods, guides are down with an under blank reel setup. Adjusting the guide placement, forward and or backward and adding additional guides, will help keep that bend between rod and line flow uniform.
Each section of rod blank, in my rod's case - 2 pieces, will have a spine and a belly. The spine is the stiffer side of the rod and the belly, is opposite of the spine, belly = softer feel in the blank. For spinning and fly rods, you leave the spine on top and the belly below meaning, your guides will be along the softer side of the blank, with the stiffest side of the blank 180 degrees opposite of your row of guides. I will cover how to find the spine once we get to that section.
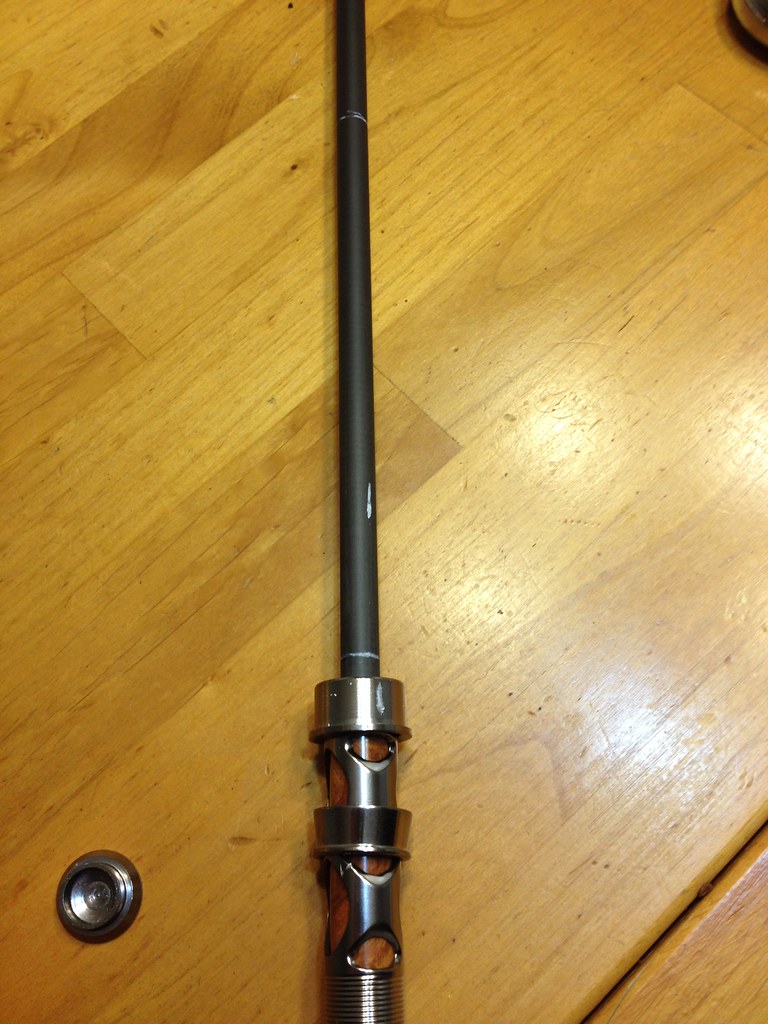
Components minus my tip guide and the fly reel. The reel seat is assembled, excluding the little silver round circular butt cap. This will all get glued up to the blank when it's time.
Note the cork grip has a recessed opening on the reel seat side. This cork grip will mate up with the reel seat, covering the top section of the reel seat with cork in a clean manner. The two basic tools to ream out your cork grip to fit the blank. Start with a ROUND metal rasp, and work the sanding strokes from the bottom of the cork grip. Sanding from the reel seat side will help keep the upper grip hole side nice and tight against the blank. Sanding can and does widen the opening of cork, EVA and wood on grips. As you sand, periodically stop and slide the grip down on the blank for fit. Do not force the cork down hard and do not get carried away cutting away huge chunks of cork with a super coarse rasp. You can tear up a cork grip pretty easily. Always support the cork as you work it, holding it in circumference with your hand, as you work the rasp. As you near the optimum fit size, you can shift over to some 60 grit sandpaper and work the final sanding down to a snug fit. Don't force the grip down tightly and don't oversand and leave it too loose either. It's better to be a bit loose than tight....2 part epoxy resin will seal this grip tightly to the blank in an upcoming step.
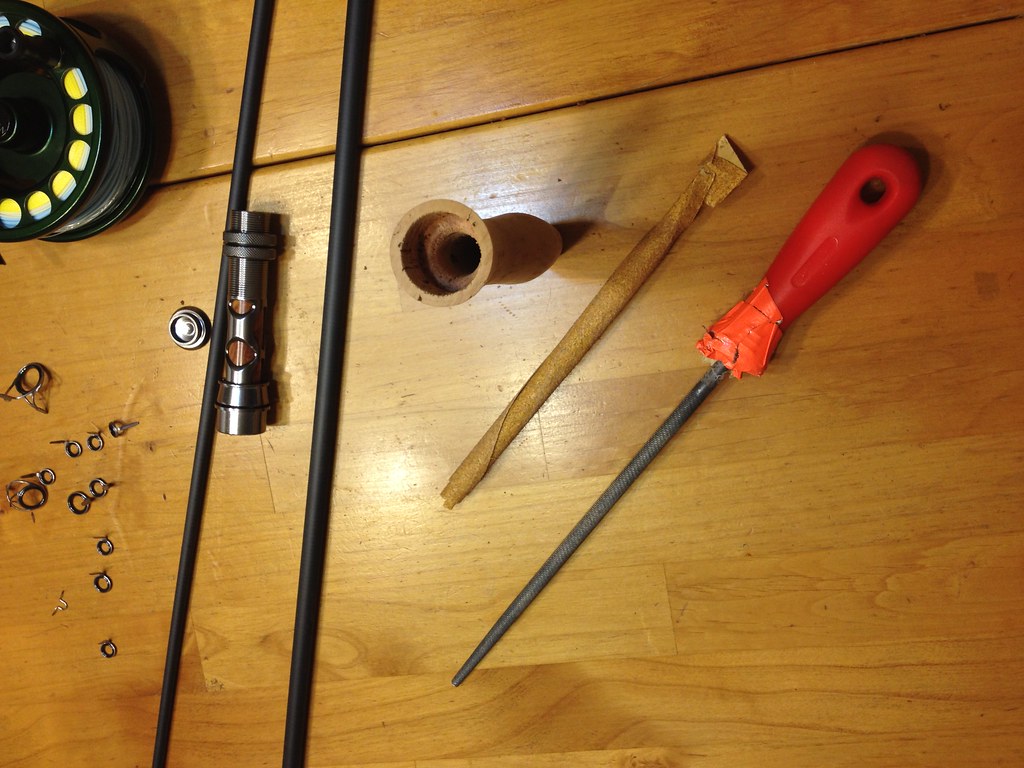
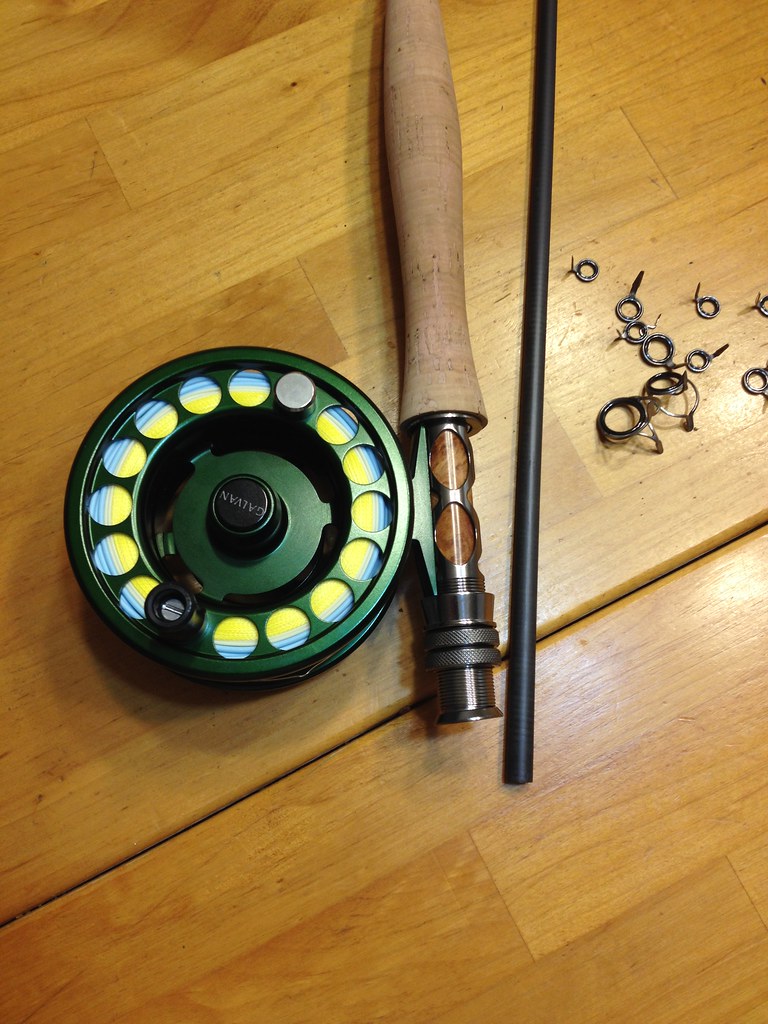
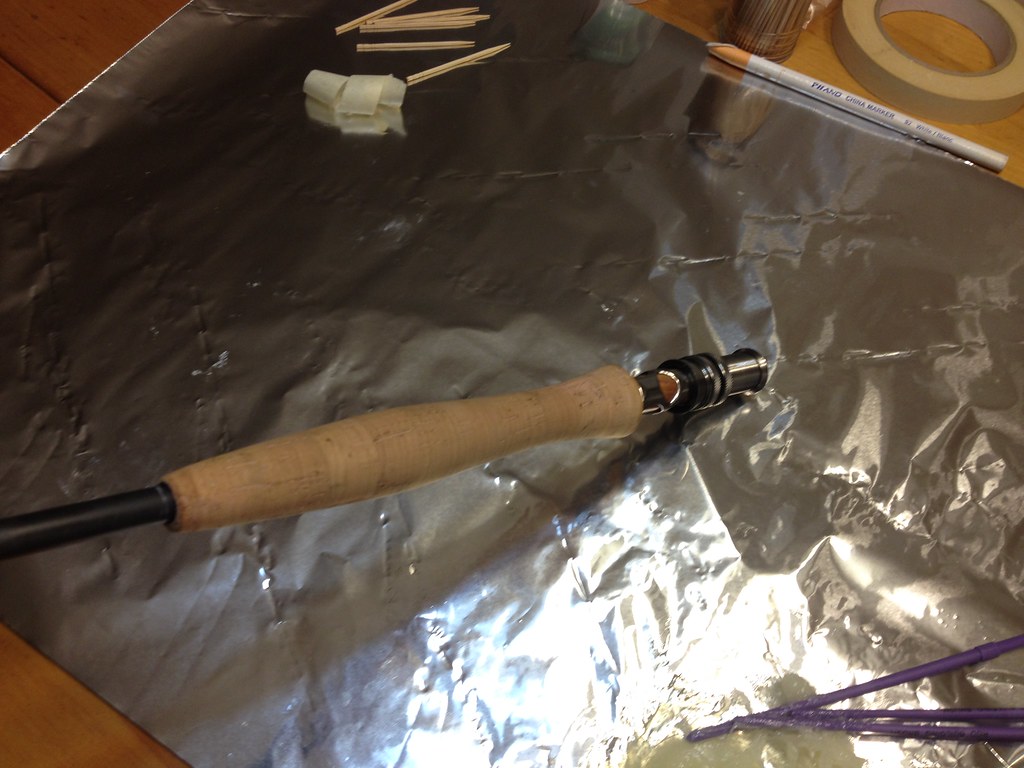
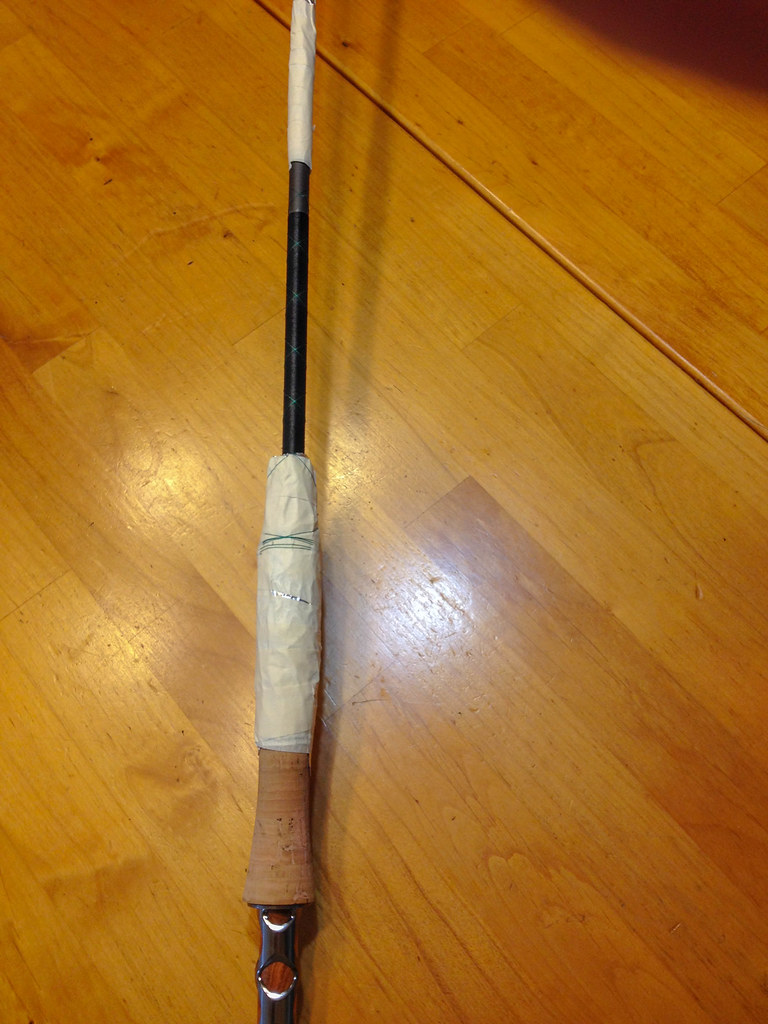
I probably sanded for 80 minutes to get this grip down where it needed to be. I added the reel seat, butt cap and tossed the reel on for a quick fit, pre glue and pre-spine measurement. Note the recessed area of grip and reel seat in front of the reel. This particular reel seat is titanium colored aluminum and it has a nice wound look, keeping my reel seat on metal and off the rosewood below. Double locking thread knobs help hold this reel against metal and provide a super strong reel to rod base for saltwater gamefish.
Coming next, finding the spine.
Received my two piece MHX High Modulus graphite 9wt fly blank, aluminum reel seat with burled rosewood insert, titanium guides and Portuguese Half Wells cork grip in the mail yesterday.
Fly rod builds are the easiest to build IMO. They are typically one or two gripped in configuration with a simple reel seat. The guides and guide spacings from the major blank manufacturers, provide a detailed guide placement fit to any of the modern fly blanks on the market today. The blanks bend, should flow with the line running through the guides, in a nice curve following the blank's bend. Any abrupt angles to the fishing line, that do not follow the blanks bend, should be adjusted to better allow the line to flow, following closely to the bend of the rod blank. Fly rod's work like spinning rods, guides are down with an under blank reel setup. Adjusting the guide placement, forward and or backward and adding additional guides, will help keep that bend between rod and line flow uniform.
Each section of rod blank, in my rod's case - 2 pieces, will have a spine and a belly. The spine is the stiffer side of the rod and the belly, is opposite of the spine, belly = softer feel in the blank. For spinning and fly rods, you leave the spine on top and the belly below meaning, your guides will be along the softer side of the blank, with the stiffest side of the blank 180 degrees opposite of your row of guides. I will cover how to find the spine once we get to that section.
Components minus my tip guide and the fly reel. The reel seat is assembled, excluding the little silver round circular butt cap. This will all get glued up to the blank when it's time.

Note the cork grip has a recessed opening on the reel seat side. This cork grip will mate up with the reel seat, covering the top section of the reel seat with cork in a clean manner. The two basic tools to ream out your cork grip to fit the blank. Start with a ROUND metal rasp, and work the sanding strokes from the bottom of the cork grip. Sanding from the reel seat side will help keep the upper grip hole side nice and tight against the blank. Sanding can and does widen the opening of cork, EVA and wood on grips. As you sand, periodically stop and slide the grip down on the blank for fit. Do not force the cork down hard and do not get carried away cutting away huge chunks of cork with a super coarse rasp. You can tear up a cork grip pretty easily. Always support the cork as you work it, holding it in circumference with your hand, as you work the rasp. As you near the optimum fit size, you can shift over to some 60 grit sandpaper and work the final sanding down to a snug fit. Don't force the grip down tightly and don't oversand and leave it too loose either. It's better to be a bit loose than tight....2 part epoxy resin will seal this grip tightly to the blank in an upcoming step.

I probably sanded for 80 minutes to get this grip down where it needed to be. I added the reel seat, butt cap and tossed the reel on for a quick fit, pre glue and pre-spine measurement. Note the recessed area of grip and reel seat in front of the reel. This particular reel seat is titanium colored aluminum and it has a nice wound look, keeping my reel seat on metal and off the rosewood below. Double locking thread knobs help hold this reel against metal and provide a super strong reel to rod base for saltwater gamefish.

Coming next, finding the spine.






Comment