Some might not say this is DIY but we definitely did it ourselves... just happen to run a home building company as well.
6'x8'X 10' tall
Started with 2X6 walls and base. The base is sheathed on both sides of the 2X6" with 1/2" CDX and insulated with 5" of styrofoam.

The floor and walls are insulated with a piece of 2" and 3" styrofoam. We used the same stuff, Dryvit, that is used in E.I.F.S. applications. We used Tyvek on the outside walls.


We used 2X12"s for the roof framing with 1/2" coolply decking. The actual roofing is EPDM with all the necessary flashings to make sure it doesn't leak! Next we put down pond liner from the floor to about 3 feet up the walls. Then we laid 3/8" hardi-board on top to make sure the pond liner isn't penetrated. now we can wash the cooler out without getting any any of the framing wet.

Instead of the coolbot I used the Johnson A419 controller. Concept is the same except cheaper but takes little more wiring skill( still not hard by any means). Stick the temp probe in the middle of the coil and set the cutoff temp at 32F. Set the "cut in" temp at 39F and the Anti-start feature at 3 minutes, which is the mininum amount of time my A/C unit takes to be able to restart. That way if the coil reaches 39F before 3 minutes is up, it wont restart ( prevents hard starting ) . Hard wire the fan so it is always on, that way it defrosts the coil when the unit cycles off. We fired her up for the first time yesterday, it was about 80F outside at about 4:00 in the afternoon and in the Texas sun. Window unit is a 17,500 BTU (220V) Whirlpool R22 coolant made in 2001. It took about an hour to get to 42F and then another 30 minutes to get to 37F. It fluctuated perfectly between 37F-39F. We opened the door for 10 minutes after it reached operating temperature and the shut the door. The unit went from the high 60s back to 37F in about 20 minutes so there was a lot of residual heat in the the cooler itself prior to the first start.

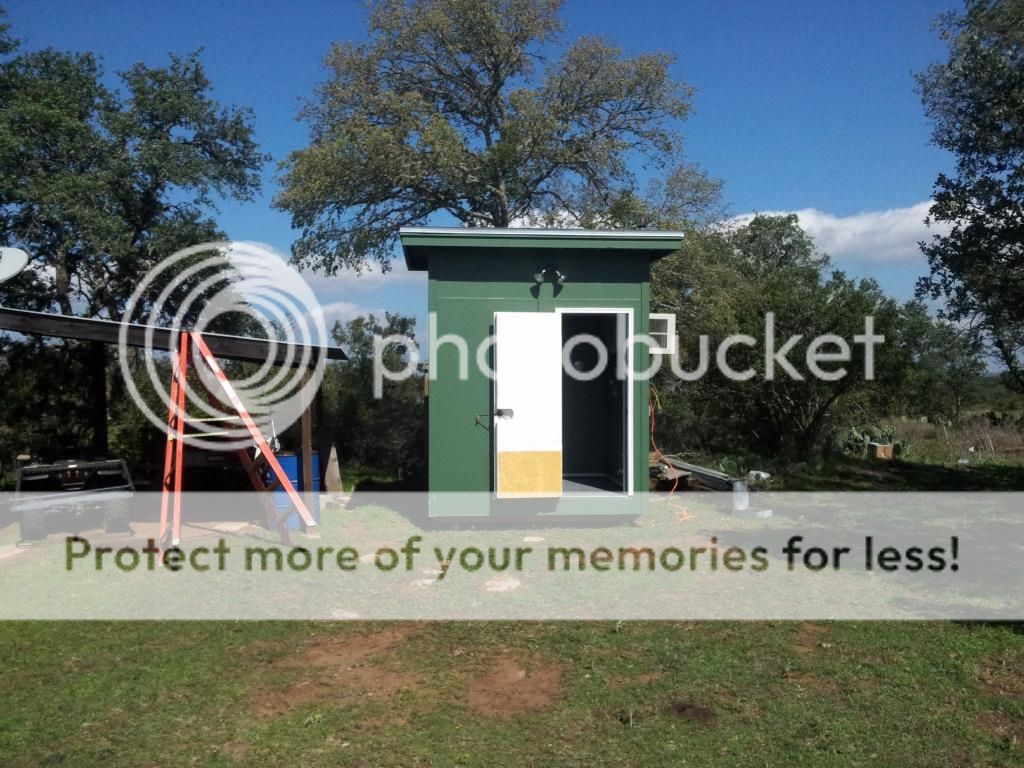
It has since been painted tennis court green and is strikingly similar to our 2 rifle blinds...

Setup and delivery this Saturday, so I'll post more pics of it in place.
6'x8'X 10' tall
Started with 2X6 walls and base. The base is sheathed on both sides of the 2X6" with 1/2" CDX and insulated with 5" of styrofoam.
The floor and walls are insulated with a piece of 2" and 3" styrofoam. We used the same stuff, Dryvit, that is used in E.I.F.S. applications. We used Tyvek on the outside walls.
We used 2X12"s for the roof framing with 1/2" coolply decking. The actual roofing is EPDM with all the necessary flashings to make sure it doesn't leak! Next we put down pond liner from the floor to about 3 feet up the walls. Then we laid 3/8" hardi-board on top to make sure the pond liner isn't penetrated. now we can wash the cooler out without getting any any of the framing wet.
Instead of the coolbot I used the Johnson A419 controller. Concept is the same except cheaper but takes little more wiring skill( still not hard by any means). Stick the temp probe in the middle of the coil and set the cutoff temp at 32F. Set the "cut in" temp at 39F and the Anti-start feature at 3 minutes, which is the mininum amount of time my A/C unit takes to be able to restart. That way if the coil reaches 39F before 3 minutes is up, it wont restart ( prevents hard starting ) . Hard wire the fan so it is always on, that way it defrosts the coil when the unit cycles off. We fired her up for the first time yesterday, it was about 80F outside at about 4:00 in the afternoon and in the Texas sun. Window unit is a 17,500 BTU (220V) Whirlpool R22 coolant made in 2001. It took about an hour to get to 42F and then another 30 minutes to get to 37F. It fluctuated perfectly between 37F-39F. We opened the door for 10 minutes after it reached operating temperature and the shut the door. The unit went from the high 60s back to 37F in about 20 minutes so there was a lot of residual heat in the the cooler itself prior to the first start.
It has since been painted tennis court green and is strikingly similar to our 2 rifle blinds...
Setup and delivery this Saturday, so I'll post more pics of it in place.

Comment