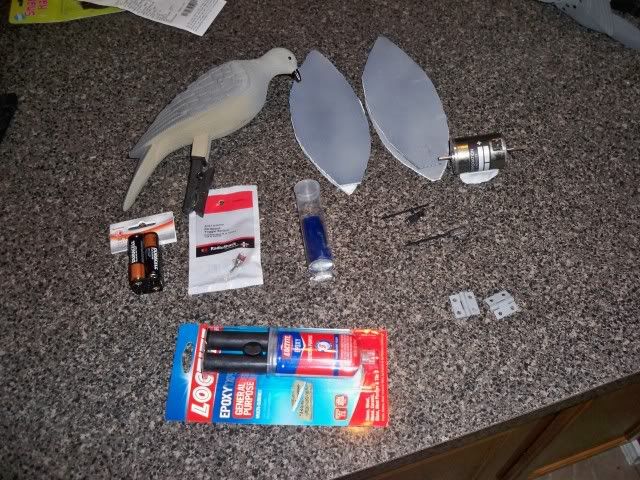
So, I'ma cheap ol boy and I wanted to get one of those mojo dove decoys after seeing how well Stinkbelly's worked when we went dove huntin'. I took a peek inside and it's really nothing to them. After a little research, I was able to make one for around $10. Here is the parts list:
2-DC dual shaft motors off of eBay (6-24 VDC operating voltage)= $14
1-SPST switch from Radio Shack= $1
4- Mojo Dove clip-on decoys= 4 for $7
1- Snap 4-AA battery holder= $2
1- pack of small hinges= $1.50
1- tube of 2 part putty epoxy= $2.50
First step:
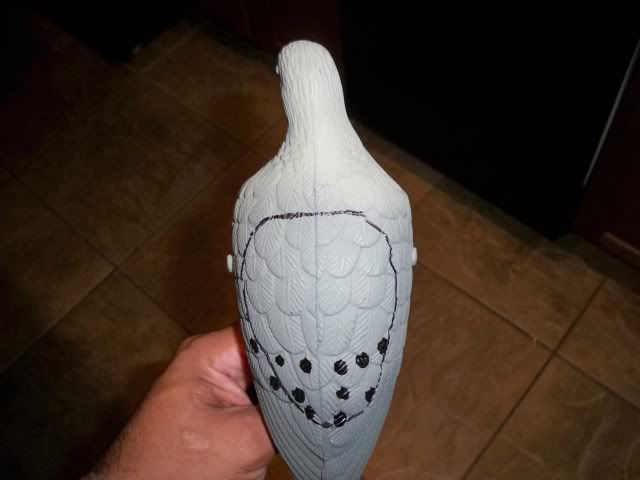
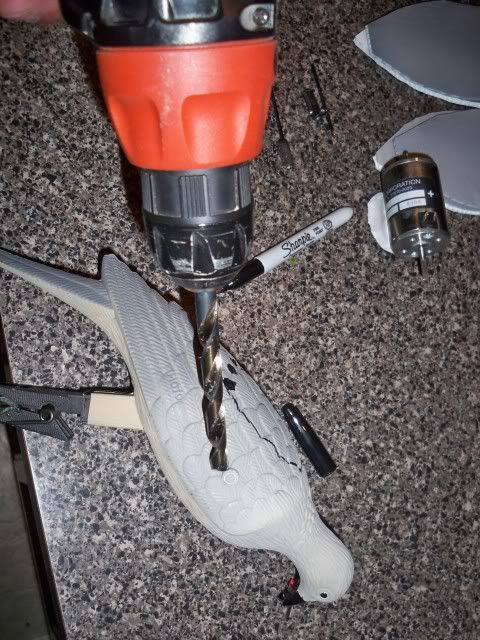
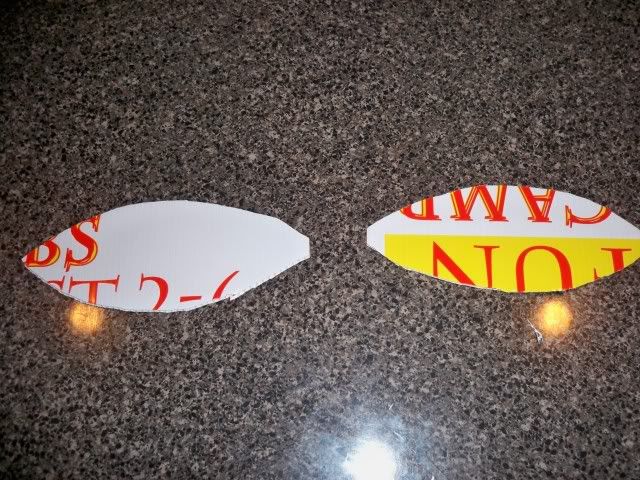
Drill 2 holes where in the wng shafts go. Mojo decoys uses the same hard-shell bodies for the clip-on and motion decoys. There is a "nipple" if you will, on the clip-on where the shafts would be. Take a marker and draw out door on the back of the decoy. Use a dremel tool to cut it out. This is where you'll store all the guts.
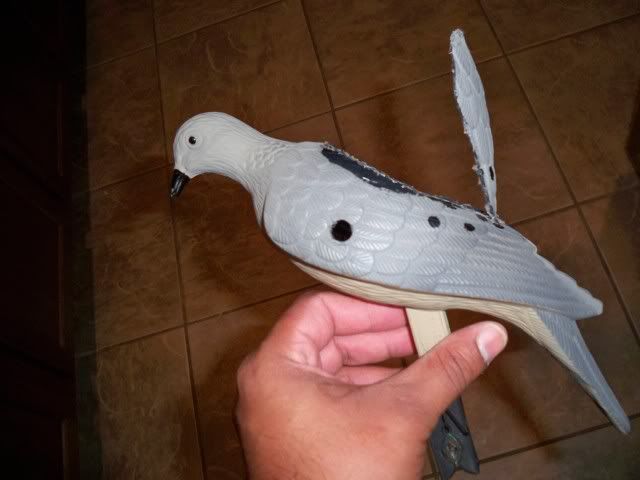
It should look like this when you're done:
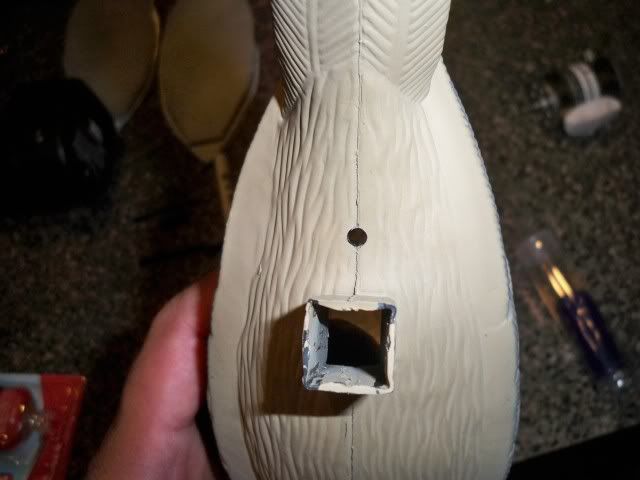
Next, drill a small hole underneath the decoy big enuff for your on/off switch to fit (SPST):
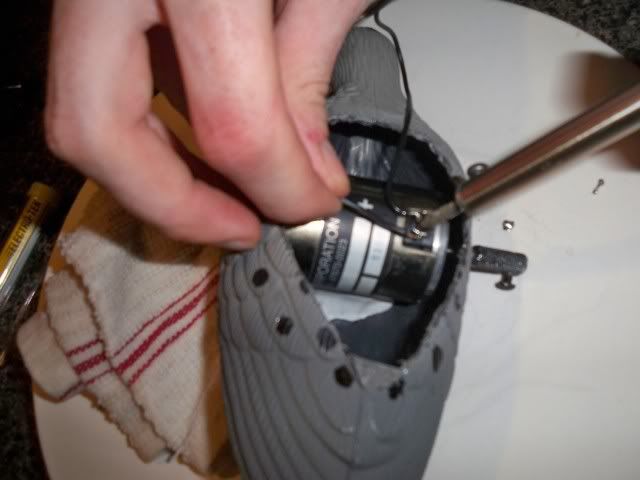
Once you have this, it's time to mount the motor. I used 2 part putty epoxy to make a motor mount. I kneaded it up real good and created a base for my motor to sit in. Make sure you fit the motor in so where the shafts and couplings will line up somewhat even in the wing holes:
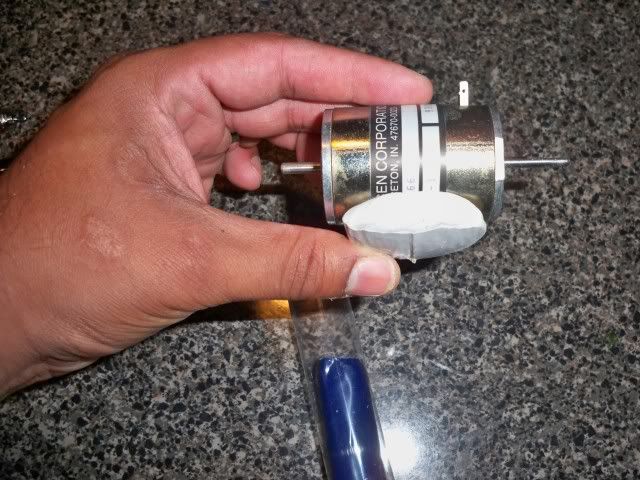
For the couplings, you can use anything that will fit the motor shaft nice and snug that will also allow you an open end to mount your wings. Since this was my first one, I used aluminum couplings tapped for two set screws. I don't think I will go this route on my 2nd one, but it works great.
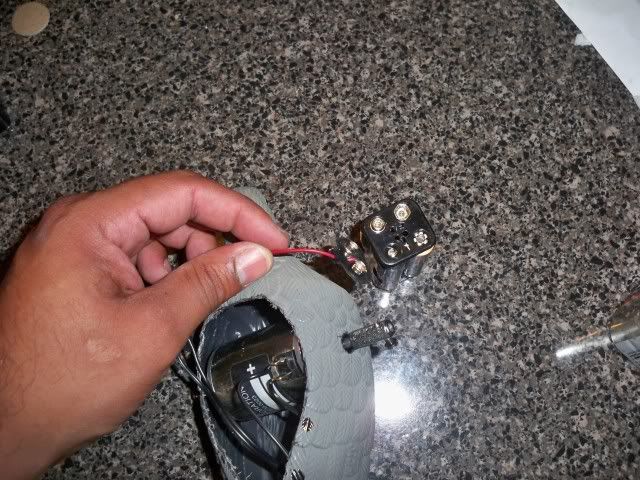
Then, I solder the power switch in series with the positive lead going to the motor:
2-DC dual shaft motors off of eBay (6-24 VDC operating voltage)= $14
1-SPST switch from Radio Shack= $1
4- Mojo Dove clip-on decoys= 4 for $7
1- Snap 4-AA battery holder= $2
1- pack of small hinges= $1.50
1- tube of 2 part putty epoxy= $2.50
First step:
Drill 2 holes where in the wng shafts go. Mojo decoys uses the same hard-shell bodies for the clip-on and motion decoys. There is a "nipple" if you will, on the clip-on where the shafts would be. Take a marker and draw out door on the back of the decoy. Use a dremel tool to cut it out. This is where you'll store all the guts.
It should look like this when you're done:
Next, drill a small hole underneath the decoy big enuff for your on/off switch to fit (SPST):
Once you have this, it's time to mount the motor. I used 2 part putty epoxy to make a motor mount. I kneaded it up real good and created a base for my motor to sit in. Make sure you fit the motor in so where the shafts and couplings will line up somewhat even in the wing holes:
For the couplings, you can use anything that will fit the motor shaft nice and snug that will also allow you an open end to mount your wings. Since this was my first one, I used aluminum couplings tapped for two set screws. I don't think I will go this route on my 2nd one, but it works great.
Then, I solder the power switch in series with the positive lead going to the motor:


Comment